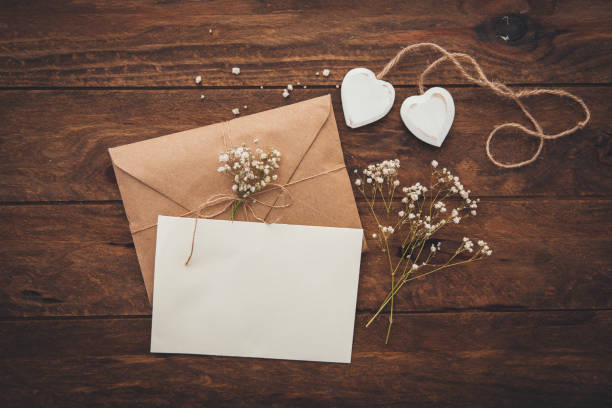
There is a lot to keep in mind when it comes to sending wedding invitations, both in terms of logistics and etiquette. When do you send them? How do you make it clear who is invited? How do you track RSVPs? Postage costs how much? If your head is swirling with questions about how to send wedding invitations, these tips will send you on the right track to make the process as simple and stress-free as possible.
Don’t Leave Out Any Important Details
Of course, you’ll include the essentials on your invitation—the date, time, and location. But think of any logistics guests need to keep in mind for your wedding, such as dress code, transportation details, venue directions, accommodation information, or any other details specific to your wedding. Some details can go on your invitation while others can go on your website, but regardless of what you decide, make sure all necessary bases are covered.
Be Clear on Who is Invited
Avoid any awkward situations by making it clear who is actually invited to your wedding. For example, if there is a couple who has children but you are only inviting the parents, address it to simply the parents (“Michael and Mary Smith”, rather than “The Smith Family”). If you are giving a friend a plus-one, address it to them and the guest to make it clear (“Joanna Jones and Guest”, rather than simply “Joanna Jones”).
When it comes to plus-ones, be consistent with your system. Whether it means everyone has the opportunity to bring a guest or only people in serious relationships do, make a rule and stick to it.
Once you have decided who is actually invited, take into account households who can share invitations. A couple living together or a family unit will only need one invitation. If you are inviting a friend plus their significant other, you could send the invitation just to the friend’s home for both guests. This could save you some serious money when it comes to printing and mailing costs.
Have Multiple People Proofread
Even if you have an eye for proofreading, have at least one other person look over your invitation. You never know what you might have missed, and they can help point out any awkward phrasing that doesn’t work as well as you thought.
Purchase More than You Need
You don’t want to put yourself in the position of having to order another round of invitation prints—that can be a costly mistake. Backup invitations are great for a multitude of reasons: you may realize there is someone you forgot to invite, or that you want to invite more guests once you know some of your initial invites can’t make it. It is also nice to have one to keep for yourself, and it can be a useful prop for the photographer to use on the day of your wedding.
Check Postage Costs to Avoid Mailing Issues
Once you’ve ordered your prints and envelopes, take a sample invitation to the post office to weigh it and check the postage. The weight, size, and shape can all play a role in the pricing of your invites, so you’ll want to make sure you have accurately assessed the costs. This will help you avoid the hassle of having mail returned to you for insufficient postage.
Send Out Your Save the Dates Early
Guests should receive Save the Date cards early enough so that they can plan for any necessary arrangements without any stress. Sometimes it is possible to send them out 4 to 6 months before the wedding, but if you have guests coming from far and wide, an 8 to a 12-month window may be more appropriate. This is especially true if you are throwing a destination wedding. Of course, this means you’ll need to start looking for invitation designers and printers at least 2 months before sending them out.
Be Smart About the RSVP Deadline
Invitations should go out about 2 to 3 months before the wedding. In terms of the RSVP, set the deadline to about 3 to 4 weeks after the guest receives the invitation. If they are given too much time, there is a better chance they will put it off and then forget. This will save you the hassle of having to contact your guests individually to get their RSVP. This will also help you better prepare your final counts for food or any decor elements that might be affected by the guest count.
Use a Number System for RSVPs
Create a system that will make RSVP tracking as easy as possible. Make a spreadsheet with the names of each invited guest, with a corresponding number next to them (some may have the same number, in the case of family or couple units who are getting one invitation). Write this number on the back of the RSVP cards. That way, you’ll have an easy to use a spreadsheet with guest responses, as well as a system that makes it easy to track RSVPs if someone forgot to write down their name.
Put a Stamp on the RSVP Envelope
You (hopefully!) won’t forget to put your stamps on your invitations, but be sure to include them on the RSVP envelope as well so that guests don’t need to pay for postage. Make sure the envelope is addressed back to whoever is taking care of RSVPs as well to avoid any confusion or mailing mistakes.
If you are in the process of planning your wedding, come to the next Georgia Bridal Show near you. You will have the chance to meet with wedding professionals from Georgia and the Southeast who can help bring your vision to life!
Georgia wedding vendors, as well as other wedding professionals across the Southeast, can contact us about opportunities for exhibition and online marketing with Georgia Bridal Show.